Chip 8
Table of Contents
Building a Chip-8 Emulator in Rust
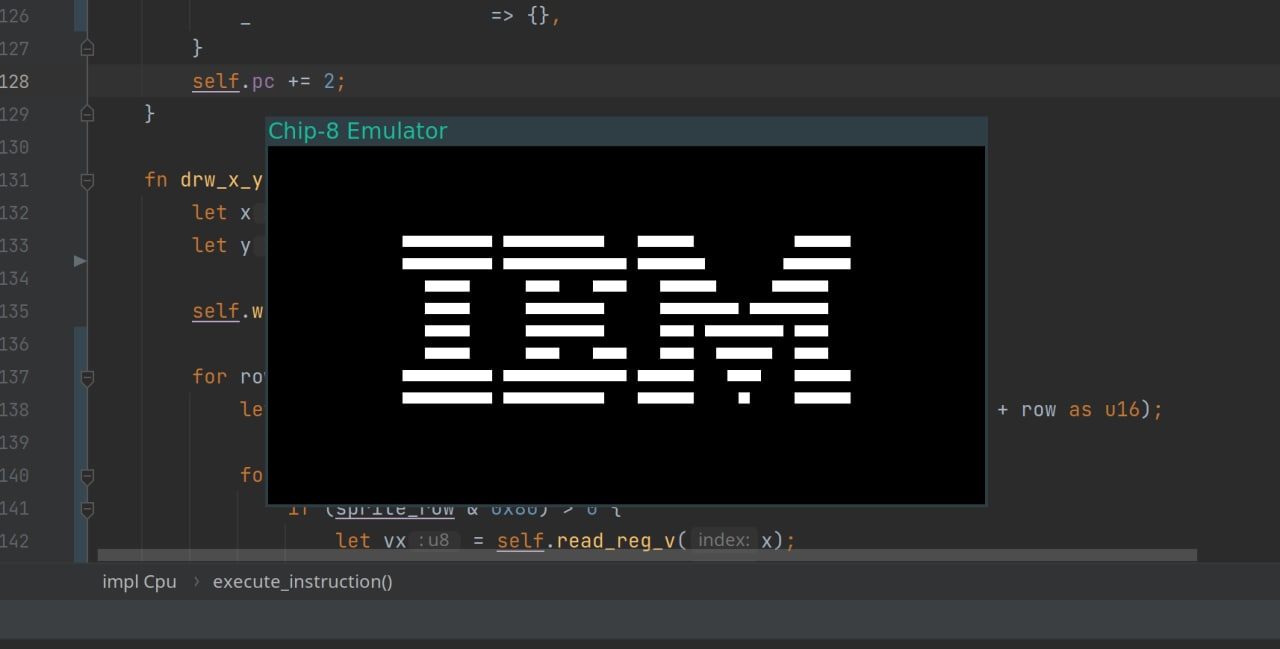
Recently, I embarked on building a Chip-8 emulator in Rust, which has been both a challenging and rewarding project. The Chip-8, originally designed as an interpreted language for simple games, provided an excellent way to dive deep into low-level emulation and understand how classic systems function.
Using SDL2 for Graphics
For rendering the graphics, I used the SDL2 library. This choice allowed me to easily manage the display output, which is crucial when emulating the Chip-8's 64x32 pixel monochrome screen.

The simplicity of SDL2's API made it a good fit for this project, allowing me to focus more on the emulator logic rather than getting bogged down with graphical issues.
Handling Opcodes
One of the most interesting parts of developing the emulator was implementing the Chip-8 opcodes. The Chip-8 uses 35 opcodes, each of which performs a specific function, from drawing sprites on the screen to handling input and memory operations.
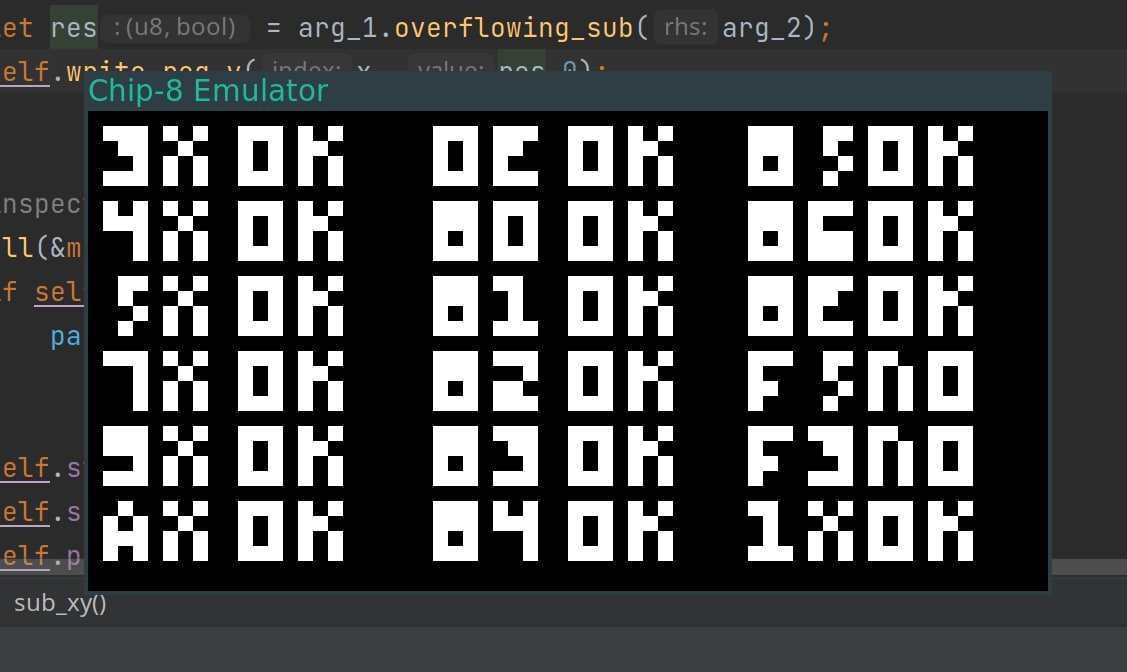
Decoding and executing these opcodes required a deep understanding of how each one manipulates the Chip-8's registers, memory, and stack. For instance, the 00E0 opcode clears the screen, while DXYN draws a sprite at the coordinates (VX, VY) with a width of 8 pixels and a height defined by N. I had a ROM that was used to test all opcodes.

Implementing these correctly was crucial for ensuring that games and programs run as expected.
Conclusion
Developing a Chip-8 emulator has been an enlightening experience, allowing me to deepen my understanding of how classic systems work at a fundamental level. The project is open-source, and I welcome anyone interested to check out the code on GitHub. I hope you find this project as fun and educational as I did!
You can view the source here on GitHub